Tuesday, December 22, 2009

Soft Book


Assembled book of special baby's favorite things using ink jet photo process on cotton, sewing onto squares, stuffing with light batting, and binding together at "spine." Here are a few of the pages.

Photo Print on Silk 2d3d


Made photo transfer of building from country of which one of my friends is enthralled. A little lumpy in the photo, but ideas for more buildings going 2d3d, likely of the iconic variety.

Wednesday, December 16, 2009

Stuffty...last one for awhile


Here is stuffty with image from drawing I made at age 5. Yes, it has been noted that my drawing style has not changed much. Xerox transfer (gum arabic/engraving ink) on silk.

Sunday, December 13, 2009

Monotype on Paper


Did a roll-up of colors with brayer, placed my image on top, put the paper on, and ran through the press. (Yes, that first pic is crooked in the photo..it is not mounted yet, and not so cock-eyed on the paper! We will see if it bugs me enough to re-photograph. Probably, though I put things away, so not right away. Not a poet, and I know it.)

Stuffties


Created some more images on silk using xerox transfer method (gum arabic, printer's ink), and added to the menagerie. The trees are from 50 year old sketches my Dad made, the cave paintings from Lascaux, the wooden icon is shown with it's silk transfer interpretation, again the "real thing" is better, but, experimenting with different types of entities to make these 2d3ds.

Friday, December 11, 2009

Photo Print on Cotton


Had some pictures of beautiful (and delicious!) desserts my dear friend Naomi makes, and decided to print for use on hot pads. Treated smooth fine weave cotton fabric with "bubble jet set," ironed to freezer paper, printed image from ink jet printer, hand washed with "bubble jet rinse," and hoping for the best in terms of durability.

Then printed another of Naomi's creations, a rose from her garden:


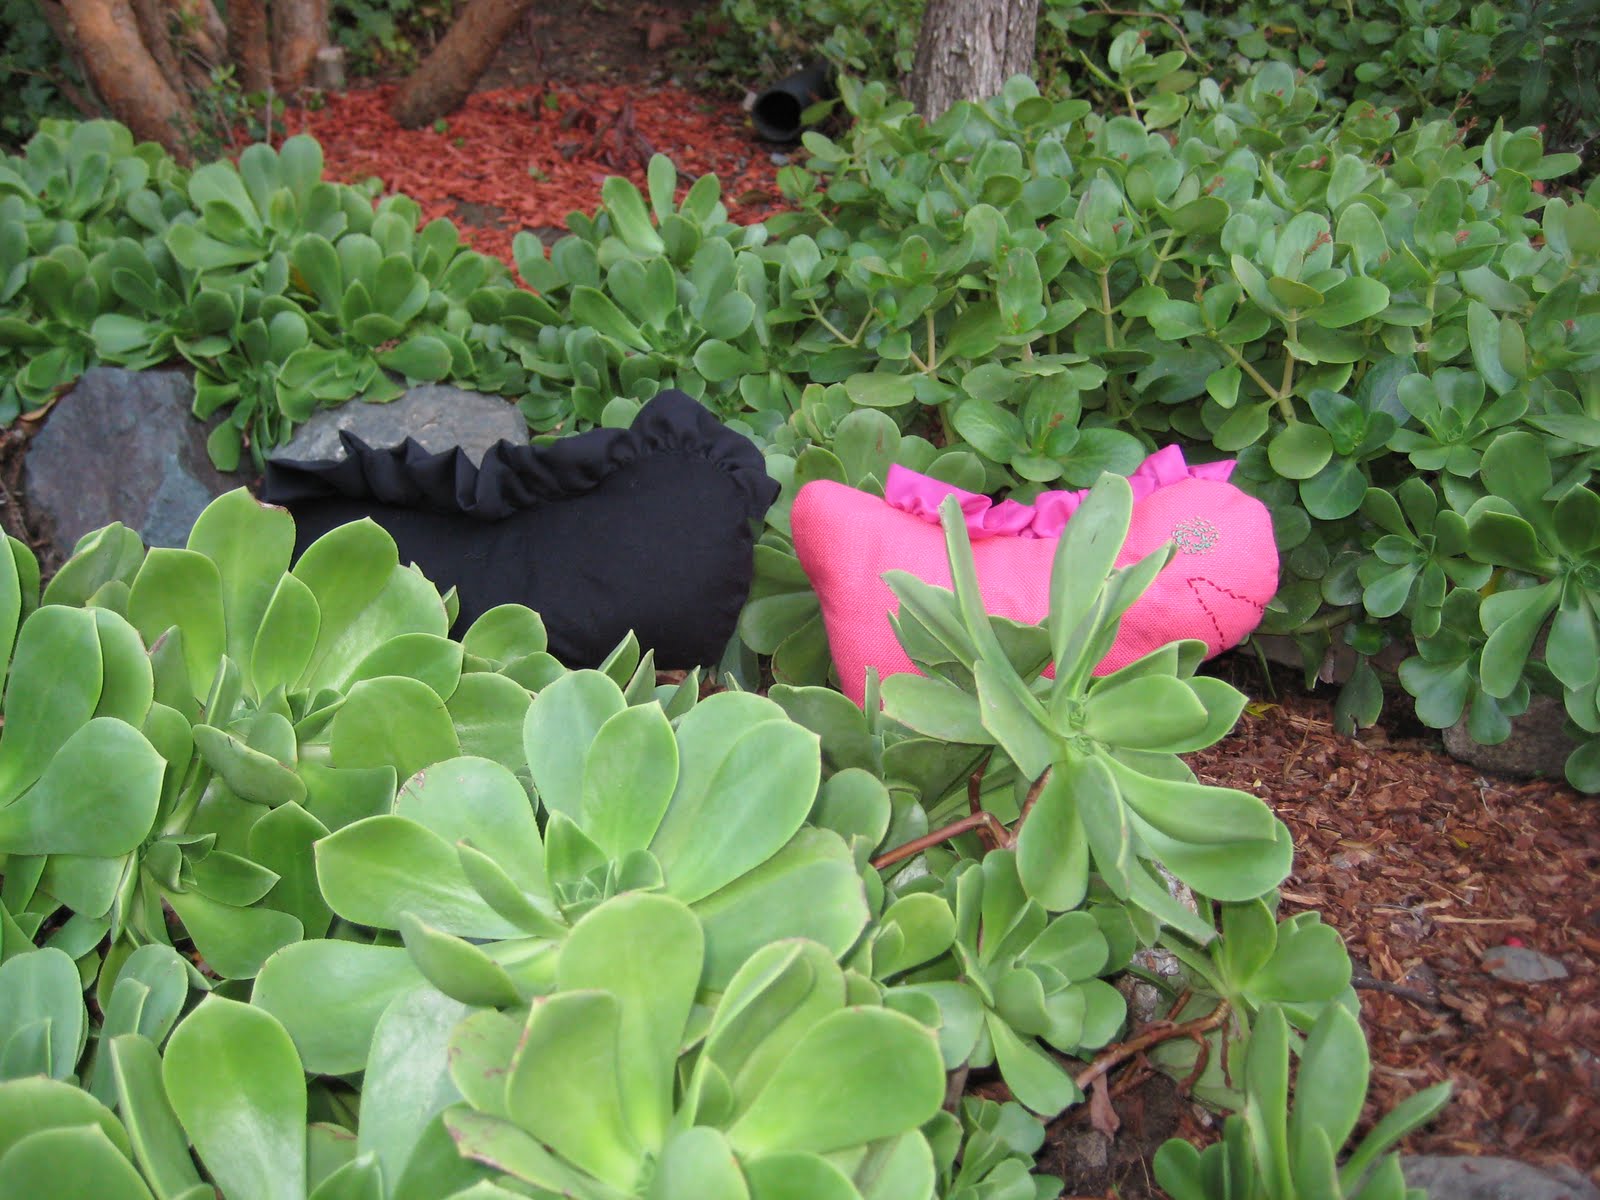
The "real things" still beat hands down, but, the printed images serve as reminders.

Saturday, December 5, 2009

Lascaux Cave Drawing on Silk

Took a real cave drawing from Lascaux, used xerox transfer method (gum arabic, engraving ink) to print on silk, fashioned into this form.

Sunday, November 29, 2009

Little Red Racer -- on silk


Printed my photograph of red racing car on silk, stuffed, and becomes a new "vehicle."

Use silk treated with stuff that helps the color copy stick to it.  I secured my supplies from Dharma Trading Company.  They sell silk sheets already treated, but also sell supplies so you can treat your own silk or cotton.  I make a "batch" of fabric at a time using the setting agents (from Dharma)....once it dries, it seems to keep fine, and ready for when the mood strikes you to print away.

a. Use sheets pre-treated to accept a color copy OR treat your own silk..then iron it onto freezer paper.
b. Make sure the sheet fits into your copier.
c. Print whatever you want onto the sheet. (just stick the treated sheet into the paper feed tray....it is backed with freezer paper...it will be skinny (like a sheet of paper with very thin layer of silk on it).
d. Let it dry for a bit, then fix the image with another agent (see Dharma).
e. Use how you like....above image was cut from the sheet...I printed both sides...figured out picture taking so it would work...a little pre-thinking is always  (well mostly) helpful.


Saturday, November 28, 2009

Birthday Whatever


Drew birthday cake on plexi, printed drawing on silk, lightly stuffed, made cozy for wine or whatever -- in this case a moose, rendered in felt with machine stitch around sketch lines, for celebrant.

Sunday, November 22, 2009

Companions for other Stufty


Made a couple of versions of the silk animal of my post a few days ago. The textured pinkish one has hand embroidered features, so to be more "mouthable" for younger set, and the black wool one is "classic" mode, you imagine the details.

Monday, November 16, 2009

On Silk, some "finished" applications


"Finished" some xerox transfers on silk. Not sure the fabric on fabric finishing pictured is "there" yet, but do like silk being free, to flutter or whatever with breeze. Vintage photo of my Dad on horse (in frame) lends itself to "inexactness" of xerox transfer of photo on silk with engraving ink. The reddish photo below is of Telc, a town in Czech Republic I have visited a few times.

Sunday, November 15, 2009

3D "Cave Drawing" Animal


Liked the idea of having Xerox transfer go 3D, so did simple drawing, xerox transfered on silk, and sewed into doll. Wanted to give him "natural" hair, but concerned that sewing sticks and leaves "out of his head" would not stay intact. Came up with holder for his "fancy dress" occasions...is not a saddle, more like a hat...has little holders in it for sticks, feathers, leaves...whatever he feels like sporting.

Update from late November 2009: Showed original to some people, had requests, so made a bevy. Good learning experience to see how mini mass production works...my past had me in mass production, not by my hand, and doing it by hand in small run was interesting. Pic of "ancestors" of the original placed itself on top of this post.


Wednesday, November 11, 2009

Silk "Dolls"


Took Xerox Transfer on silk for class assignment calling for book to be rendered in printing technique. Made collage of various elements of "modernization" of Russia under Peter the Great. Stuffed lightly, sewed into "dolls," with "diamond" pendant of PG affixed to ribbon, running through "modernized Russia, attached to doll of Russia pre-PG inside modernized Russia.

Tuesday, October 20, 2009

Xerox Transfer on Silk


Xerox transfer process on silk. Have made a collection of these from various photographs, and am playing with method of "mounting" them while continuing to display the properties of the silk...delicate, flowing.

Did a few on tee shirts today, will see how they launder, and post if make it through relatively unscathed.

Sunday, October 18, 2009

Tintin and Snowy Skirt


Tintin and Snowy taking a walk on my new skirt. Difficult to impossible to find decent looking Tin Tin stuff for women, so, voila made it myself. (Of course, not my original art, hats off to Georges Remi/Herge)

Tintin skirt

Saturday, October 17, 2009

Xerox Transfer on Fabric


My first Xerox transfer on fabric. Used same photo of school kids I saw walking to historic temple near Mysore. Fabric square itself is very nice, given to me by friend in printmaking class, she used her husbands old handkerchiefs as rags, but, we thought this was nice alternative use too.

Here is how I do it:

You will need:
1. Toner printed image -- drawing or photo...any image will work that looks good in black/white/greyscale.
2. Printing press
3. Print making ink
4. Gum Arabic & Water
5. Plexiglass sheet
6. Rubber roller -- 2

a. Make a black and white "xerox" of your image on a toner based copier (not an ink jet).
b. Mix some gum arabic and water together...mostly gum arabic on a glass slab.
c. Using a rubber roller, roll gum arabic onto a sheet of plexi.  Plexi s/b the same size as your paper or image, depending on how careful you are, or how much the edge of the plexi will show up on your design once it gets on the fabric/paper. Keep it clean...random ink and stuff will transfer to your fabric (or paper) if you leave it there!
d. Put your xerox face up on the plexi.
e. Roll gum arabic on the xerox.
f. Roll printers ink on the xerox.
g. Wipe the ink off the paper with a damp sponge. This is a little tricky. Not too wet or wiped too "hard" or the xerox will fall apart or you will wipe off too much ink. The idea is to allow the ink to bond with the xerox image....the printers ink goes to the black dots on your image...(the mini dots that make up the image).
h. Put the plexi down on the printing press.  (cover the press bed, adjust the setting for the thickness of your plexi).
i. Dampen your fabric or paper (with mister).
j. Lay the fabric down on the plexi. (lay it as you want it the first time...you are dealing with ink, it will transfer to random places if you move it around....be precise the at the beginning if exactness is important to you).
k. Roll the press.
l. Carefully lift up your fabric.
m. Hang to dry.

I have found that printer's ink remains on fabric...I haven't washed it 10+ times, but do believe it will stay on there, at least for "art purposes" ...perhaps not your everyday tee shirt.

Monday, October 12, 2009

Thursday, October 8, 2009

Xerox Transfers

Playing with Xerox Transfer process, using different color techniques to add element. Tried something late today that I think has "legs." Will work on more next week, blending ideas.

Wednesday, September 30, 2009

Screen Printed Sheet Set


Screen print of design from wedding invitation of my cousin.

Shhhh...surprise for them!

Silhouette Series


One color silhouette onesies, using freezer paper stencil..hand painted.

Hand painted Multi Color -- Kid with Toy Series

Here are two more of the hand painted onesies.

Wednesday, August 19, 2009

Freezer paper stencil -- Second attempt


Method makes it relatively easy for multi color at one time and paint saturation is fairly good. Unfortunately, not able to use the stencil twice. Will be good for prototypes, to execute in other methods, perhaps less colors. Rookie mistake...stenciled on wrong side of garment (was to be on front).

Sunday, August 16, 2009

Table Cloth/Curtain Idea


Ok, so multi color print, but not on top of each other! Trying to better my skills at lower level attempt. Still haven't found the right ink, as this one was a bit runny, dripping down on block inopportunely. Print came out ok for this application ("weathered/retro"), but still not to my desire for yardage..want to be able to have dense ink penetration on fabric, not for everything, but, want to be able to control to that degree.