Showing posts with label sculpture. Show all posts

Thursday, December 19, 2024

Ceramic and fabric - remake of a photograph


Made ceramic and fabric piece from a photograph of a street scene in Mysore. I had visited there years ago, on the way to the wedding of a friend. I was in the shop right next to the picture below, selecting the fabric for the under pieces for the sari I ended up wearing to one of the ceremonies. The man in the yellow shirt was my driver for this section of the trip -- he was wonderful -- guiding without directing, protecting without stifling. Such an absolutely fantastic trip that was --wish everyone could have that experience. 
The picture above is a bit off, as I was removing the background of the photo -- and didn't do it perfectly. 


Thursday, January 11, 2018

Coastal Redwoods -- in work


Five in a circle....fairy circle.  In work.  Clay. 


Thursday, December 28, 2017

Crown 9 -- getting even more close


All made from clay, except for their clothes and the stick holding sign. The figure on the top of capital building should be in the kiln for bisque stage.  Need to fasten the denim dress side, and work on sign holding adhesive appearance.  Testing now to see how it sticks..don't want to make it permanent..the sign holding aspect.

The piece was "quieter" without the signs and the clothes of course, but wanted the current day "reality" to step in and make some noise...discord of discourse.  Based on Constitution/law, rather than "personality."


Sunday, December 10, 2017

Crown 9 -- getting closer


Ok, not there yet, but closer.  Now for their signs and a flag or two.  Going to get a bit more animated!  Ceramics.


Wednesday, November 22, 2017

Cell Phone Tea Pot


Assignment was to make a teapot...with the seed planted for a walk on the more unusual side.
I thought of the ritual of tea....including growing up with my relatives from my Dad's side...it was tea and talking -- the visit.

Thought of the way much of visiting nowadays is done "virtual" -- on cell phone, facetime, etc.  So, my tea pot is a cell phone.  Wanted the scale to stay somewhat the same, so it won't hold much hot water...still thin.  Not sure the tunnel in the tube will stay "passable" by water...needed to use extruder, but didn't get to it, so just poked through tube with narrow stick. The cord may help act as handle, but figure it would require touching the "pot" (phone) to lift to pour.

I don't really need anything like this hanging around, so, I plan to smash it before firing....after I show it as "assignment done!"

White Elephant Coasters


Friend has his birthday celebration coming up soon -- has us all over, and instead of gifts for him, a massive (50+ people) white elephant gift game.  Decided white elephant coasters for this one. Still need to get in kiln, but on their way.

Monday, November 13, 2017

Crown 9...the center work


The people and the eagles are going to circle the outer ring of the crown. Picture in case it doesn't make it out of the kiln in one piece!

Sunday, November 5, 2017

Crown 9..in work


This one it taking more time, but learning some things, which is one of the main points perhaps. 

Thursday, June 1, 2017

Animal Kingdom Crown...in glaze process


I was going to make it two colors, like animal silhouettes, but then thought, hmm, try for real. 
Some touch ups here and there, and then to fire. 


Thursday, October 1, 2015

More Tile Table ..Rostam...Cutting Background same time as Figures


Ok, was discussing this project with someone who said it should work to cut the background out figures at same time.  I was concerned that my shrinkage would be different and that I wouldn't be able to spread to dry (so I was going to kind of mosaic with small tiles the background). In a way, it is easier to cut the figures and background out at same time because some of the background shapes are tricky.  But, I still wonder if it will work...so narrow in places and if the shrinkage doesn't happen at same rate everywhere, I am liable to have a horse hoof not fit into the groove. 

The above is one tile piece (with the dog type thing and horse tail in corner another). I removed the figures to clean them up....the cutting process made some less then smooth edges. And yes, I do expect something will break in the drying process or transport to kiln. 

Wednesday, September 9, 2015

Blocks -- Repeating Shapes


Continued study in repeating shapes aligned. 


Friday, June 19, 2015

Handmade Ceramic Tile Table -- DIY


Finished!  Lots of steps, none of them hard, but took some time to complete.


a. Design layout.  I used existing image. Next time I will try my own, but this time was concentrating on technical process, so used a Paul Klee painting

b. Copy (xerox)  image  to "actual" size you want you item to be -- in this case about 24" x 38".

c. Put  clay in slab roller to desired thickness. I worked in three sections for this --
    allowed me to make time manageable cuts and keep the adjacency in order when I went
    to cut.

d. Lay paper pattern down on top of clay slab. Using side of sharp pencil (not point, but side), trace
   the lines of your design onto the clay slab. Watch that you don't keep the paper on the clay for too   long, as the dampness can have paper stick and be hard to pull on intact. The paper pattern removed once your section is done.

e. Using sharp x-acto tool, cut the shapes out. You need to play with the angle of your blade...
    it should be so clean on the cut that there are no "warbles" in the clay...a clean cut.

f. Begin the drying process. Keep the clay pieces on flat board with clean paper underneath and on top of the pieces. Spread them slightly so the edges have air expose space to dry. Cover with heavy board.  Cover with plastic for the first 2 days. The idea is to keep them flat while allowing them to dry slowly.  I did this over a few days...gradual.

I turned my tiles a couple times a day, refreshing the damp paper to help the moisture from the clay absorb. When your tiles are to hard cheese dry stage, label them..I etched them with pencil on bottom.  (After bisque fire, I labeled again in under glaze pencil on bottom).  You wouldn't have to do this if your design was more straightforward...but it helped me map the design out as I also labeled the life sized copy to refer.  (before tiles had color, it was more complicated to lay them out in order...the label on underside helped).

g. Shrinkage. This is going to happen ...for me, it was more in the length than the width. Since this
design includes horizontal and vertical tiles, I did end up with some gaps on the horizontal tiles when I went to lay them out.  I could have calculated a 3-5% shrinkage, but since this design was so  "interlocked," it seemed too complicated for me to do on my first hand made tile table. Learning element for future.

h. Bisque fire.


i. Glaze.  I laid the tiles out on another life sized copy of the design that I had laminated to protect from glaze dampness and allow me to wipe it off as needed. I kept a color copy of my design nearby to refer to color.  I am a rookie on glazing -- this is my second glazed item in adult life, and it went smooth enough. Had made myself a glaze test tile with various colors and notes on how I had mixed the particular color. This helped a lot when I went to do it on my real tiles, but didn't cover all the colors. Most of them turned out ok...I tried to use a few base colors on the color families to help with some cohesion, and did color families in batches..oranges, greens, etc...so I could keep more clear on gradations of color in the family.

j. Fire.


k. Make table. I used plywood as my base, and ordered table legs and cleats. Two coats paint on flat plywood board cut size of design. Side trim boards cut to measure, screw to sides -- using level to make sure your trim boards are flush with the tiles so your grout as a side to grab at same height as tile. Countersink of screws and filled in with little wood biscuits that I drilled from trim board. Wood glue in the drill hole, stuff the biscuit in hole, trim with saw, sand, voila (except I had to sand and re-finished the section of trim where I used this method to cover the screw heads). . I put polyurethane coat to protect the wood...did not stain, but this coat did deepen the color. (alder).


l. Glue tiles in place. I've used Liquid Nails on granite benches and a Heath Tile Bench, but I read the label on Liquid Nails, and it says it is not recommended for ceramic tiles. Since I had put time into making these tiles, I decided to be "careful" and do what they said (!)...ending up using tile adhesive. I put the mastic on the tile itself, and then the base. If you covered your base (2 coats of painted plywood) with mastic you would likely get a more even surface than tile by tile, but my design was a bit complicated, so I wanted to keep tiles next to each other and pick up and glue as I went, so I never really had a clear flat surface to spread...just a tile space or two.  Worked ok.

m. Wait 24-72 hours to allow adhesive to dry.

n. Grout.


o. Seal the grout.  I used paint brush to keep it on grout, not the tiles.  The instructions (511 sealer) indicate you can get on it the tiles, but was cautious not to do so.  I have't sealed  my outside benches, but since this is a coffee table for my sister, figured it will have more opportunity to have things spilled on it.


Wednesday, February 4, 2015

Wood and Rocks in Column


Wood and rocks. Little copy-cat. 

Saturday, January 31, 2015

Leaf and Bird Skirt looking at the Sun


A quick sew as usual, a kind of heavy linen type fabric, good for warm days in winter, which we appear to be having this week.  The sun inset the patio was done when we were kids..one of my sisters......shaped from Styrofoam, and then cast in bronze by Dad, and eventually incorporated here.

Saturday, October 11, 2014

Ceramic Figure...salt, sawdust, copper, tea


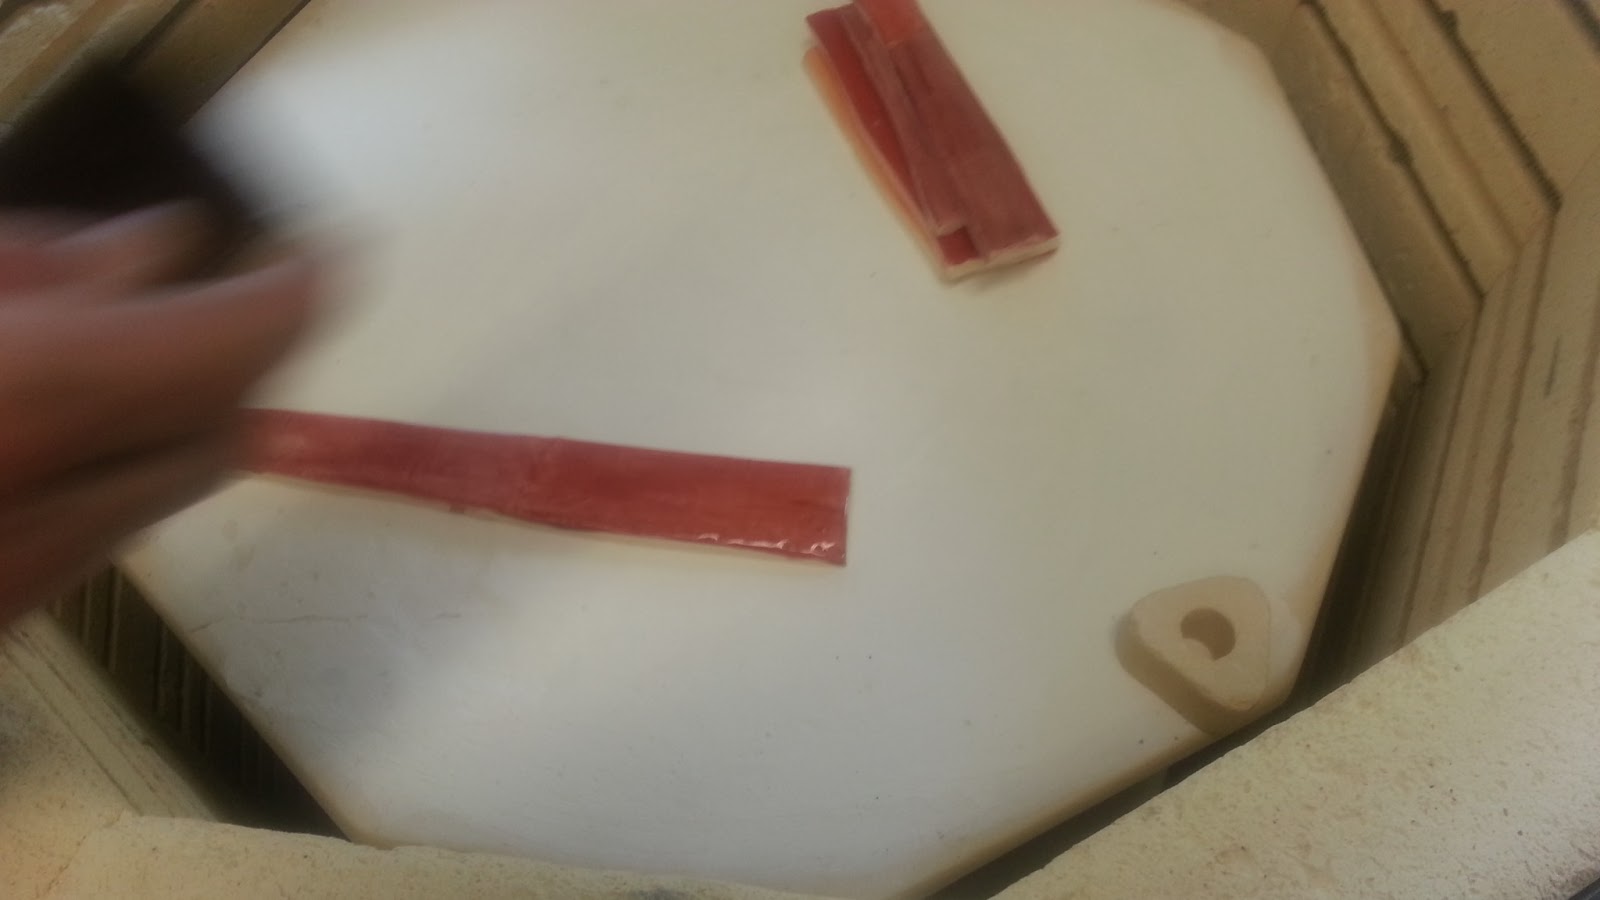
Playing with clay making hollow forms.  After bisque fired, applied assorted objects to see what affect they would have. Copper wire (black and pink orange), salt soaked nettle tea bag (brownish), string soaked copper sulfate (brownish). Once "seasoned" with what desired, place on layer of sawdust in sager and fire again to about 1350 degrees.  Sawdust left the large black spaces.


Monday, December 23, 2013

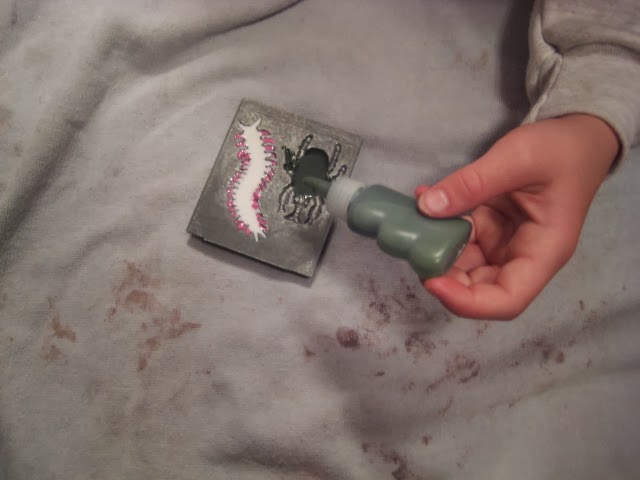
Reviving Creepy Crawler Bug Maker


Played with Susan's brother Creepy Crawler maker when I was a kid.  On Major Art TV show, after winning the bean bag toss, my sister went to the Treasure Chest to pick her prize, and later related that while she really wanted the Creepy Crawler set, it wasn't what girl was supposed to pick, so she picked a Skipper doll instead.  Anyhow, many many years later, I gave her a Creepy Crawler set for her adult birthday. Now, many years after that, the kids are using....kind of the pre-cursor to the 3D printing going on.